All levels
|
13 min 19 sec
|
13:19
|
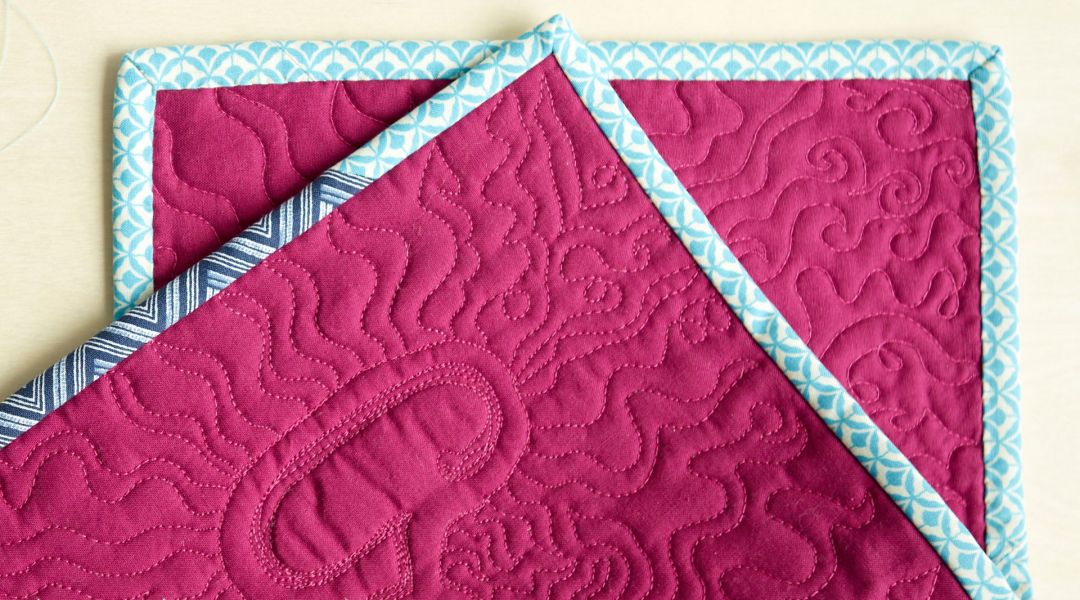
Quilting designer Ashley Nickels demonstrates the traditional method for attaching binding tape to a quilt — a fundamental technique every quilter needs to know. Step by step, you will learn how to pin the binding to the quilt sandwich, attach it using the walking foot on your sewing machine, create mitered corners, join the ends of the binding, and finish with a hand-sewn blind stitch. Watch Ashley's How to Make Binding Tape class for a quick lesson on how to make your binding strips and sew them together.
Learn how to:
- Attach binding tape to a quilt
- Pin the binding to the quilt sandwich
- Attach it using the walking foot on your sewing machine
- Create mitered corners
- Join the ends of the binding
- Finish with a hand-sewn blind stitch
- Step-by-step expert instruction from Ashley Nickels on how to attach binding tape
- A quick video lesson you can access online anytime, anywhere
- Detailed supplies list
- The ability to leave comments, ask questions, and interact with other students


Member Gallery
Browse members' projects from this class and share your own work! Learn how to take great photos here.
Load More
Transcript
How to Attach Binding Tape Reviews
585 users recommended this class to a friend
Heather Barthell
Good explainer. Nice to see multiple fabrics used. Frankenbinding rules!
More than 3 months ago
Patricia Burns
Ashley is great at explaining how to attach the binding. I look forward to finishing many of my projects with this process. Thank you Ashley.
More than 3 months ago
melinda totten
you made it look so easy, and vary neat . thanks for this teaching. It was vary helpful .
More than 3 months ago


