Furniture Refinishing: Paper and Decoupage (Part 3)
Beginner
|
31 min 45 sec
|
00:35
|
|
04:04
|
|
03:29
|
|
06:00
|
|
03:27
|
|
05:51
|
|
03:35
|
|
04:44
|
Furniture Refinishing
Part 1:
Furniture Refinishing: Sanding and Prepping (Part 1)
Before you can apply a fresh coat of paint to a thrift store find, you’ll need to get the furniture ready for its transformation. Barb demonstrates basic prepping techniques on a vintage nightstand and coffee table, showing how to remove the hardware, rough up the veneer with sandpaper, fill hardware holes with wood filler, and clean and vacuum the surfaces. You will also learn how to tape off your drawers for clean, painted lines, and apply polyurethane to spots where you've added wood filler.
Part 2:
Furniture Refinishing: Painting Basics (Part 2)
Now that you have prepped the surface of your furniture, you are ready to start painting. In this class, Barb demonstrates two of her favorite painting techniques. First, she shows how to apply two coats of latex paint to a wooden coffee table. Then, she demonstrates “milk painting” on a nightstand to create a textured, antiqued look. Barb gives plenty of tips for getting into those detailed areas and creating a lovely, finished look in either medium.
Part 3:
Furniture Refinishing: Paper and Decoupage (Part 3)
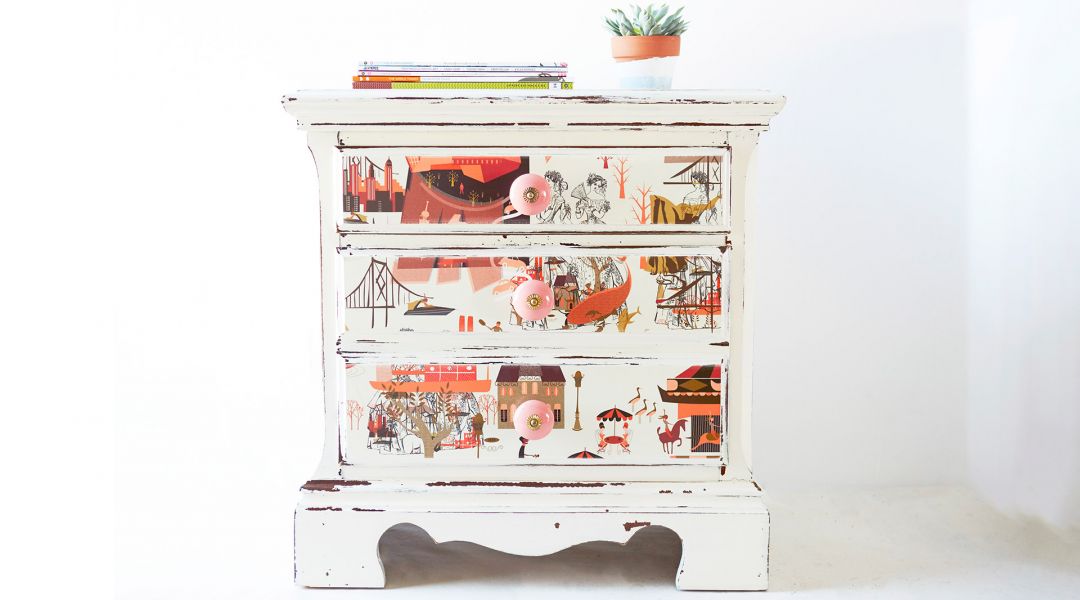
Create a pretty pictorial effect on your furniture with wallpaper or high-quality giftwrap – no drawing skills required. In this class, Barb shows how to choose a wallpaper that coordinates with your base paint, and then demonstrates covering drawer fronts, adding a lining, and installing your own fun hardware.
Part 4:
Furniture Refinishing: Color-Blocking and Painting Techniques (Part 4)
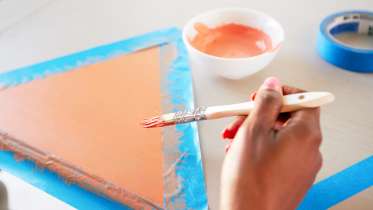
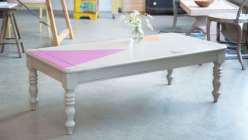
Want more creative ideas for designing furniture that pops? Barb shows how to paint a bold, geometric design on a coffee table, and demonstrates a couple of options for finishing your furniture using wax or wood stain. By the time you are done watching, you will have all the tools you need to create beautiful, custom-designed pieces for your home.
Want more creative ideas for designing furniture that pops? Barb shows how to paint a bold, geometric design on a coffee table, and demonstrates a couple of options for finishing your furniture using wax or wood stain. By the time you are done watching, you will have all the tools you need to create beautiful, custom-designed pieces for your home.
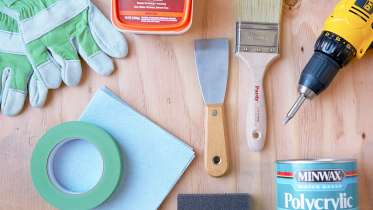
Here’s what you’ll need:
- Furniture pre-painted with latex paint
- Frog tape
- Craft knife
- Pencil
- Putty knife
- 3 water-based craft or household paints
- Tape measure
- A couple brushes
- Wood stain in Walnut
- Brush for stain
- Mineral spirits
- Container for mineral spirits
- Rubber gloves
- Shop towels
- Clear furniture wax (optional wax finish)
- Wax brush (optional wax finish)
- Sanding block
Downloads:

Member Gallery
Browse members' projects from this class and share your own work! Learn how to take great photos here.
Load More
Transcript
Class PDF
Furniture Refinishing: Color-Blocking and Painting Techniques (Part 4) Reviews
0 users recommended this class to a friend


