


All levels
|
2 hours 13 min
|
01:02
|
|
01:22
|
|
03:08
|
|
03:40
|
|
01:33
|
|
03:34
|
|
00:28
|
|
02:30
|
|
05:08
|
|
07:24
|
|
07:05
|
|
02:53
|
|
04:57
|
|
02:50
|
|
03:38
|
|
04:55
|
|
03:49
|
|
09:09
|
|
02:33
|
|
04:29
|
|
04:41
|
|
06:34
|
|
04:00
|
|
04:29
|
|
08:21
|
|
07:10
|
|
02:52
|
|
05:58
|
|
01:21
|
|
06:07
|
|
02:22
|
|
03:40
|

Taught by Taiga
This class will be available to view on November 01, 2026.
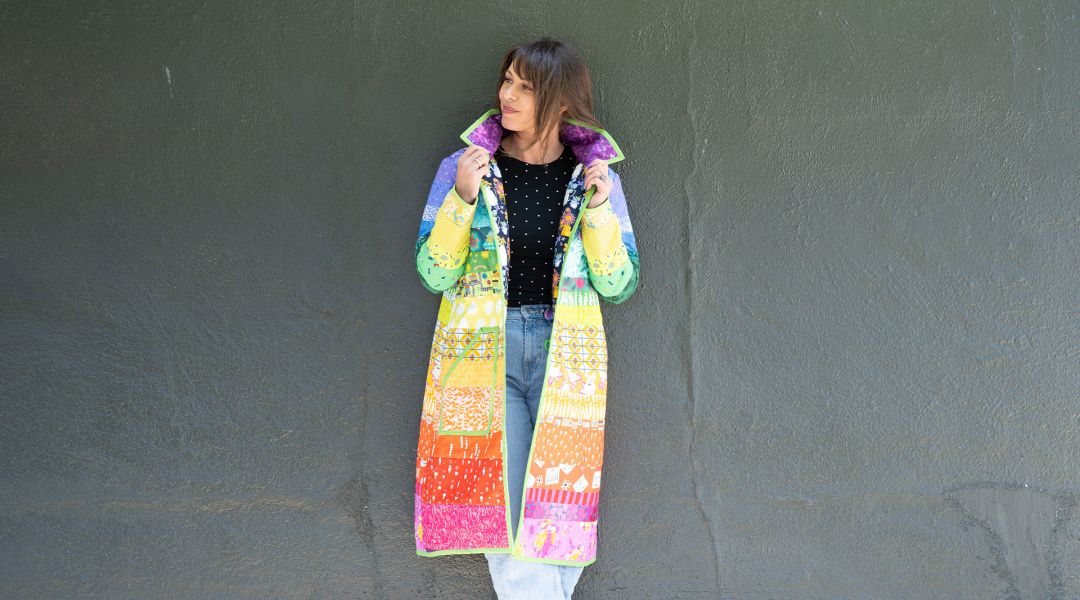
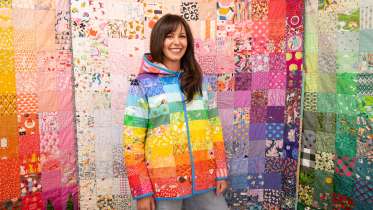
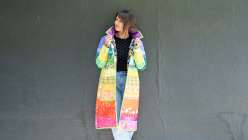
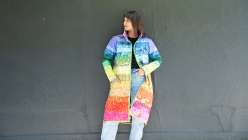
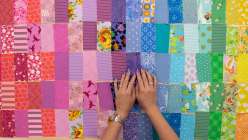
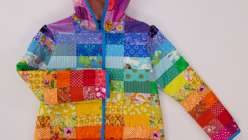
Wrap yourself in color with a custom rainbow gradient quilt coat! Quilt artist Taiga shows how approachable garment sewing can be by guiding you through every step of designing and constructing a one-of-a-kind coat. This Daily Practice covers how to adapt an existing coat pattern to suit your style. Explore three playful approaches to color—classic rainbow order, ombré gradients, and pixelated patchwork—before personalizing your pattern with options for collars, hoods, pockets, and length. Along the way, you'll learn how to calculate the amount of quilted fabric you'll need, piece patchwork efficiently using a neat web piecing technique, and choose a complementary lining. Whether you make it short or long, with a hood or without, your finished quilt coat will be like wearing your favorite blanket wherever you go.
6 to 8 rectangles from 60-80 different rainbow fabrics - buy fabric packs from Taiga's shop
Lining fabric, approx 4 yards
Batting, approx 4 yards
1/2-inch double fold bias binding - long enough strip for entire coat
Rotary cutter and mat
Fabric shears and snips
Ruler and tape measure
Pins or clips
Iron and ironing surface
Spray baste or safety pins
Snaps - Taiga is using plastic, size 20, long prong from KamSnaps
Snap clamp and awl
Piecing and quilting thread
Sewing machine
Seam ripper
Optional:
Learn how to:
Wrap yourself in color with a custom rainbow gradient quilt coat! Quilt artist Taiga shows how approachable garment sewing can be by guiding you through every step of designing and constructing a one-of-a-kind coat. This Daily Practice covers how to adapt an existing coat pattern to suit your style. Explore three playful approaches to color—classic rainbow order, ombré gradients, and pixelated patchwork—before personalizing your pattern with options for collars, hoods, pockets, and length. Along the way, you'll learn how to calculate the amount of quilted fabric you'll need, piece patchwork efficiently using a neat web piecing technique, and choose a complementary lining. Whether you make it short or long, with a hood or without, your finished quilt coat will be like wearing your favorite blanket wherever you go.
Here’s what you’ll need:
Coat pattern of choice - Taiga is using Tamarack by Grainline Studio and also recommends the Liz Liner Coat by Natalie Ebuagh 6 to 8 rectangles from 60-80 different rainbow fabrics - buy fabric packs from Taiga's shop
Lining fabric, approx 4 yards
Batting, approx 4 yards
1/2-inch double fold bias binding - long enough strip for entire coat
Rotary cutter and mat
Fabric shears and snips
Ruler and tape measure
Pins or clips
Iron and ironing surface
Spray baste or safety pins
Snaps - Taiga is using plastic, size 20, long prong from KamSnaps
Snap clamp and awl
Piecing and quilting thread
Sewing machine
Seam ripper
Optional:
- serger machine
Downloads:
organize blocks of color in three ways
employ a neat webpiecing technique
choose complementary lining fabric
make modifications to an existing pattern
contruct a quilted coat
add a hood or a collar


Member Gallery
Browse members' projects from this class and share your own work! Learn how to take great photos here.
Load More
Transcript
Class PDF
Rainbow Gradient Quilted Coat: A Daily Practice Reviews
2 users recommended this class to a friend
Related Classes