


Intermediate
|
2 hours 17 min
|
01:19
|
|
01:03
|
|
02:53
|
|
03:00
|
|
05:06
|
|
02:52
|
|
04:35
|
|
01:37
|
|
04:38
|
|
01:32
|
|
01:47
|
|
02:43
|
|
02:33
|
|
03:08
|
|
02:15
|
|
05:17
|
|
06:16
|
|
03:27
|
|
02:50
|
|
04:12
|
|
04:59
|
|
04:31
|
|
09:45
|
|
05:52
|
|
07:40
|
|
03:28
|
|
02:58
|
|
06:53
|
|
07:08
|
|
08:45
|
|
05:29
|
|
02:15
|
|
05:06
|

Taught by Anna Maria Parry
Start Free Trial or
Buy For $39.95
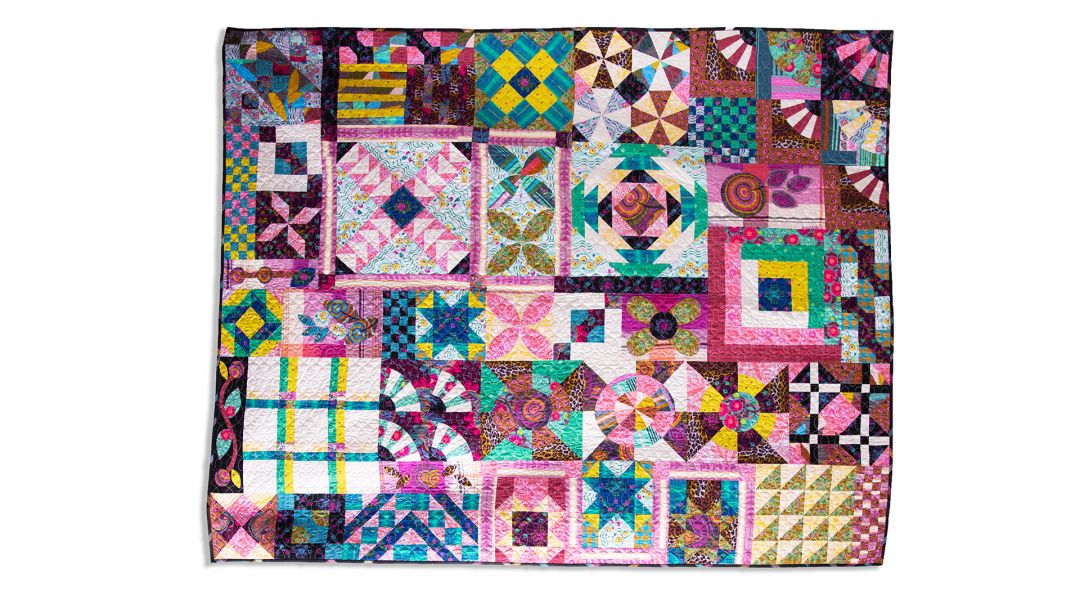
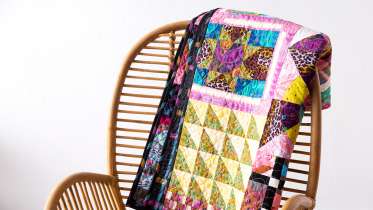
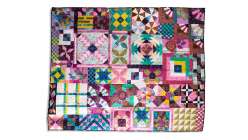
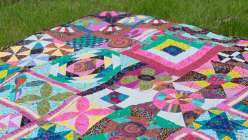
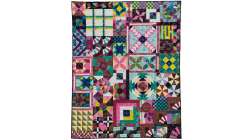
Creativebug is excited to release our first-ever Daily Quilting Challenge. Designer and quilter Anna Maria Horner created “Dear Diary” to help you build skills as you move through the month, resulting in the perfect modern sampler quilt. Beginning with traditional blocks and techniques updated with contemporary color choices and block arrangements, this quilt top serves as a record of your patchwork journey. Use half-square triangles in different ways to create new motifs, play with scale as you move through the various blocks, and learn how to appliqué on feature blocks. Best of all, the robust PDF includes cutting and assembly guides as well as a color map so you can substitute in an of your favorite solids and prints to make this quilt your very own.
Before beginning each day, please be sure to work from the most updated version of the class PDF.
Finished quilt is 64" x 80"
Learn how to:
What you'll get:
Before beginning each day, please be sure to work from the most updated version of the class PDF.
Here’s what you’ll need:
- Straight pins
- Sewing machine
- Hand-sewing needles
- Scissors
- Rotary cutter and mat
- Ruler and templates
- Paper templates are included in the PDF but you can find acrylic templates for the applique here, and mylar templates here.
- Marking tool
- Fabric glue stick
- Aurifil 50 weight thread in a dark and light
- Iron and ironing surface
- Fusible web for machine applique; Anna Maria uses Steam-a-Seam
- About 10 yards of quilting weight cotton fabric. Anna Maria uses the following colors: rust, black printed, solid black, leopard, maroon, lime green, blue and yellow plaid, medium blue, pink plaid, purple, red, coral/green floral, stripe fabric, light blue, cream, pale pink and yellow, dark grey, yellow, pink, rust, coral, pink and white pattern, light grey, solid blue, blue and aqua pattern, and green. If you'd like to use all the fabric in Anna Maria's original quilt, you can purchase her fabric bundle here
Finished quilt is 64" x 80"
Downloads:
- Use templates
- Work needle turn hand appliqué
- Machine appliqué
- Sew patchwork
- Work with grid rulers
- Sew half-square triangles
- Cross cut
- Sew no-waste flying geese blocks
- Work with color in a quilt design
- Assemble a patchwork design to build a quilt top
What you'll get:
- Instructions on how to make the Dear Diary Quilt
- 31 HD video lessons you can access online anytime, anywhere
- Detailed supplies list and PDF containing quilt patterns and sewing guide
- Step-by-step expert instruction from Anna Maria Horner
- The ability to leave comments, ask questions, and interact with other students
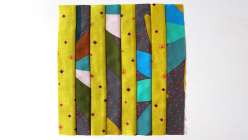
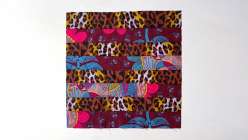
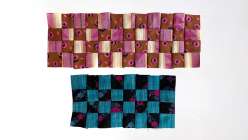
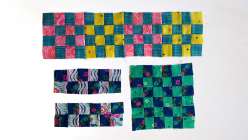
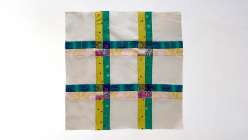
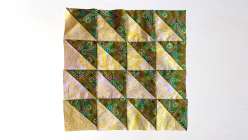
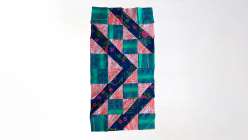
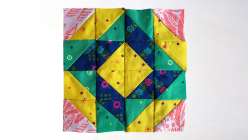
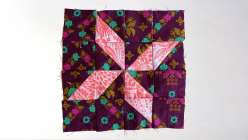
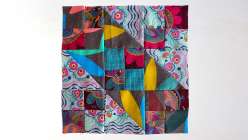
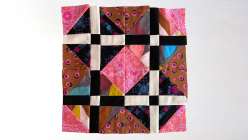
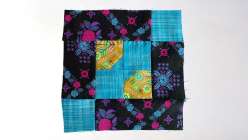
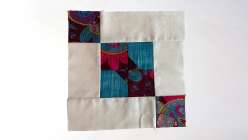
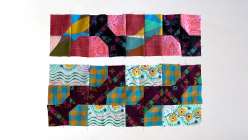
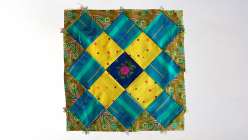
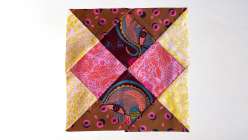
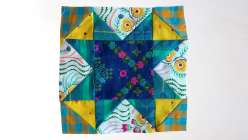
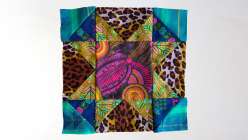
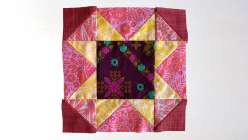
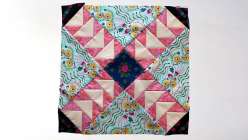
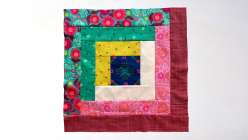
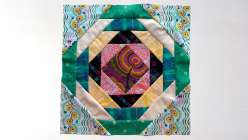
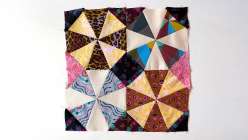
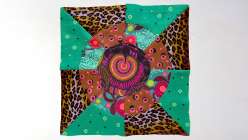
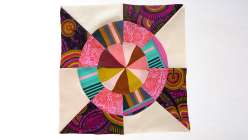
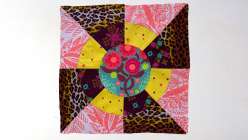
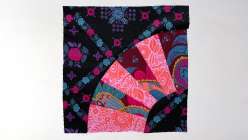
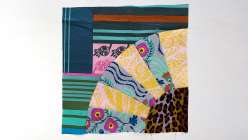
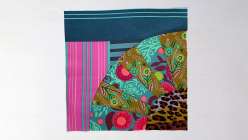
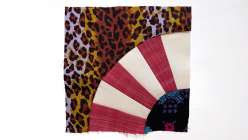
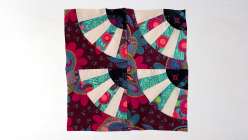
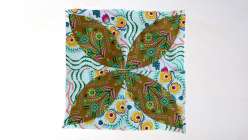
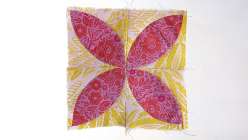
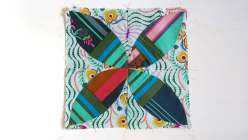
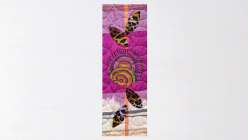
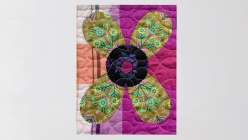
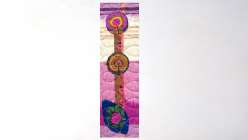
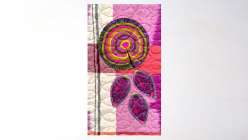
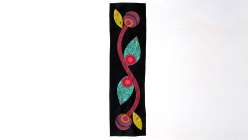
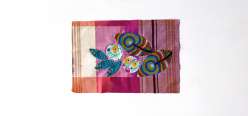
Member Gallery
Browse members' projects from this class and share your own work! Learn how to take great photos here.
Load More
Transcript
Class PDF
Dear Diary Daily Quilting Challenge Reviews
212 users recommended this class to a friend

shari king
I've made a few quilts in the past but never explored all the different block techniques that this class offers. Anna does a great job in the sequencing of this course. She starts with the simpler styles an slowly integrates the more complex designs. I have to admit that although this is supposed to be a daily challenge, some of the blocks took more than a day. It was a terrific journey and now I'm working on my own creation after learning how to do a flying geese. Im in love with this design!
August 17, 2026
1

donna m milligan
I am not a needle turn applicator. So I did mine on the machine. I was OK with curved pieces, but not on the small one. I tried it several times and eventually made up a different block using the requirements that were needed to fill in that space. I think the teacher did a very good job and I enjoyed this tremendously.
July 26, 2026
Tracey Tasker
Love this class. There are a few errors in sizes/quantities in the instructions that I would have thought would have been easy to ememdy by now but they are easily resolved.
Over all a fabulous way to use up lots of different fabrics. I forced my self not to buy anything additional for this quilt and use only from my stash and really pushed myself to be braver in my fabric choices.
Loved the finishd quilt.
Thank you x
More than 3 months ago
Related Classes