
All levels
|
23 min 11 sec
|
00:33
|
|
05:28
|
|
08:36
|
|
08:34
|

Taught by Heidi Parkes
Start Free Trial or
Buy For $19.95
A circle is the shape of everything from atoms to stars, enduring the test of time. Skilled quilt artist Heidi Parkes incorporates many hand-sewn fabric circles into her quilts. In this class, she imparts her expertise in appliquéing circles of varying sizes using three distinct stitching techniques. She demonstrates options for using or not using a hoop and an iron, allowing you to select the most suitable method for your project.
Learn how to:
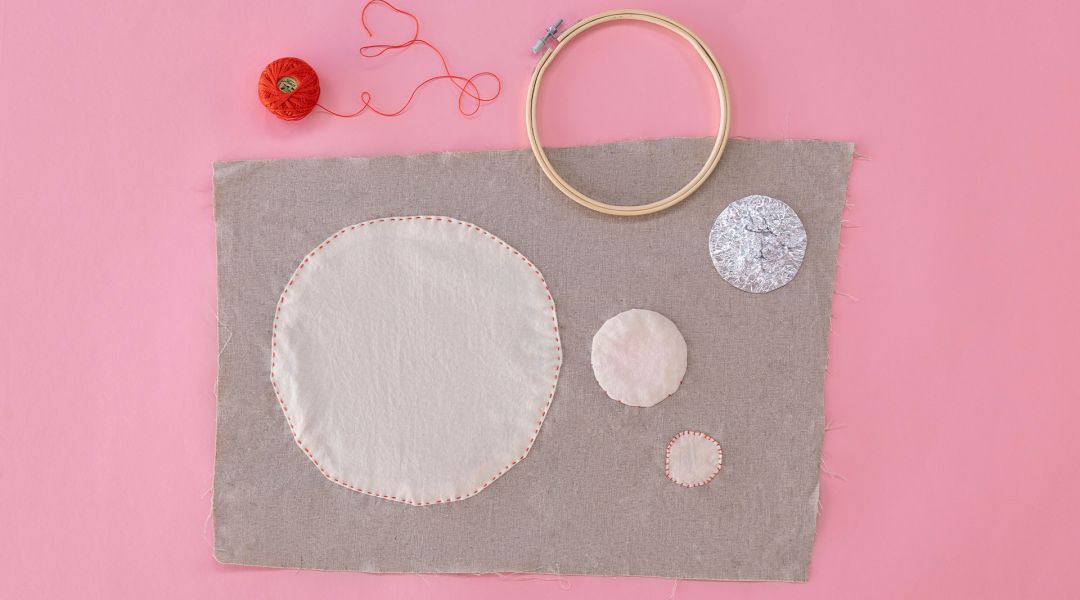
Here’s what you’ll need:
- Sewing needle - Heidi likes the Dritz milliner's multi-pack
- Thread - Heidi is using DMC pearl size 8
- Embroidery hoop to fit the size of your appliqué
- Scissors or snips
- Thimbles - Heidi uses pushing and pulling/gripping thimbles
- Removable marking tool
- Iron and ironing surface
- Aluminum foil
- Cardboard and something round to trace, like a bowl
- View all Heidi's favorite supplies here
Downloads:
- Appliqué a circle from a square shape using a hoop
- Appliqué a large circle without using a hoop
- Use aluminum foil to applique a unique shape on your project
- Sew the whip, running, and invisible ladder stitch


Member Gallery
Browse members' projects from this class and share your own work! Learn how to take great photos here.
Load More
Transcript
Class PDF
How to Appliqué Circles Three Ways Reviews
228 users recommended this class to a friend

Eva Tua
This class, as all of Heidi's class is packed with amazing info! I used all the tips and techniques she shares, not for a circle, but a more organic oblong shape that i wanted to appliqué into a needle-book. The aluminum technique for shaping is MAGIC, and her ladder-stitch is so refined compared to all I have seen (more difficult for me to keep consistent distance between the stitches, but practice makes better!?). I can't recommend this class enough! Thank you Heidi & Creativebug for this short & sweet gem of a class!
July 19
Rosemary Andrews
Loved this .Heidi is such a likeable teacher and a very hypnotic way of sewing ,I'm already deciding to make hand stitched quilts instead of machine sewing ,it seems so lethargic ,thank you Heidi x
July 13

Suzanne Manning
A good demonstration of circle applique with some tips and tricks for preparing the applique cloth and making smooth circles, including having a cardboard substrate insert to guide the stitching.
June 2, 2026
Related Classes