
All levels
|
1 hour 35 min
|
00:46
|
|
00:58
|
|
03:40
|
|
05:50
|
|
05:40
|
|
04:16
|
|
18:53
|
|
04:42
|
|
05:48
|
|
00:55
|
|
00:53
|
|
06:36
|
|
09:27
|
|
04:43
|
|
07:46
|
|
05:00
|
|
09:19
|

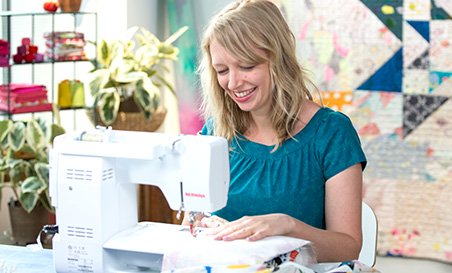
Taught by Annabel Wrigley
Start Free Trial or
Buy For $29.95
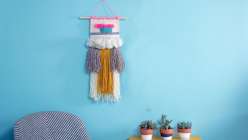
Learn the basics of making one-of-a-kind woven tapestries with Annabel Wrigley. This course goes beyond simple warp-and-weft weaving, teaching you how to add long, dramatic fringe, color-blocked shapes, fluffy clouds of wool roving, and loads of texture and color. Best of all, Annabel teaches you how to mix and match all of these techniques so that you can design a unique tapestry of your own in any size you like.
Learn how to:
Here’s what you’ll need:
Intro to Weaving: Basic Weaving Techniques
- Hammer
- ¾” wire nails
- Pencil
- Angled tapestry needle
- Ruler
- 12” long dowel (¼” diameter)
- 12” x 16” canvas
- 1 ½” x 10” piece of cardboard
- Worsted weight yarn in colors of your choosing (Annabel uses approximately 400 yards of white, and one skein each of black, green, pink, and yellow)
- Easel
- Staple gun
- Screwdriver (optional; for removing staples)
- Scissors
- Plastic fork
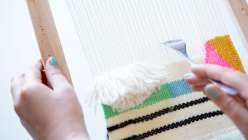
Intro to Weaving: More Complex Weaving Techniques
- Frame loom with a weaving in progress
- Wool roving
- Selection of medium-weight yarn in colors of your choosing
- Two dowels
- Large knitting needles
- Ruler
- Plastic fork
- Tapestry needle with a bent tip
- Scissors
Downloads:
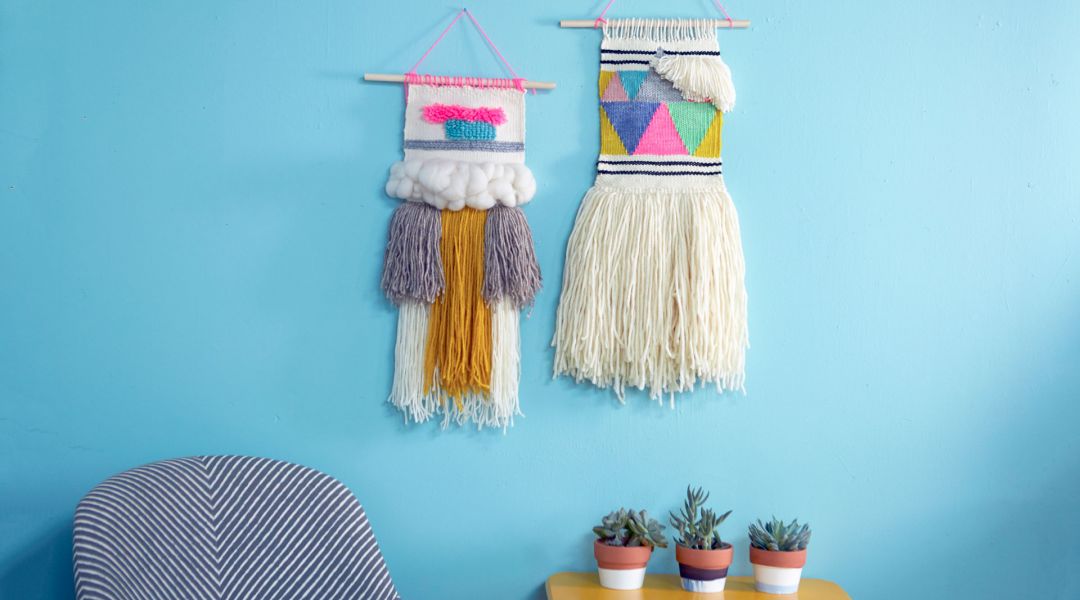
- Make one-of-a-kind woven tapestries
- Add long, dramatic fringe, color-blocked shapes, fluffy clouds of wool roving, and loads of texture and color
- Step-by-step expert instruction from Annabel Wrigley on weaving basics
- 15 HD video lessons you can access online anytime, anywhere
- Detailed supplies list and downloadable PDF included
- The ability to leave comments, ask questions, and interact with other students


Member Gallery
Browse members' projects from this class and share your own work! Learn how to take great photos here.
Load More
Transcript
Class PDF
Intro to Weaving: A 2-Part Series Reviews
1017 users recommended this class to a friend

Pauline Wright
This class was a wonderful demonstration into the world of weaving tapestries! I love the clarity of the instruction and the close-ups that really showed how to do each weaving technique. There were so many textures and shapes that I never even knew I could do with weaving, and I am super excited to implement those in my own weaving, whether that's with a frame loom like Ms. Wrigley demonstrated, or even on my little darning loom for decorative patches! I hope there's more weaving content in the future!
More than 3 months ago

Dee Brown
Sweet creations. Excellent introduction to frame weaving!
More than 3 months ago
E M
Clear explanations from building the loom to removing it from the frame, accompanied by excellent video shots of detailed needle work. Helpful and inspiring!
More than 3 months ago
Related Classes