Intermediate
|
28 min 17 sec
|
00:40
|
|
00:46
|
|
09:09
|
|
17:42
|
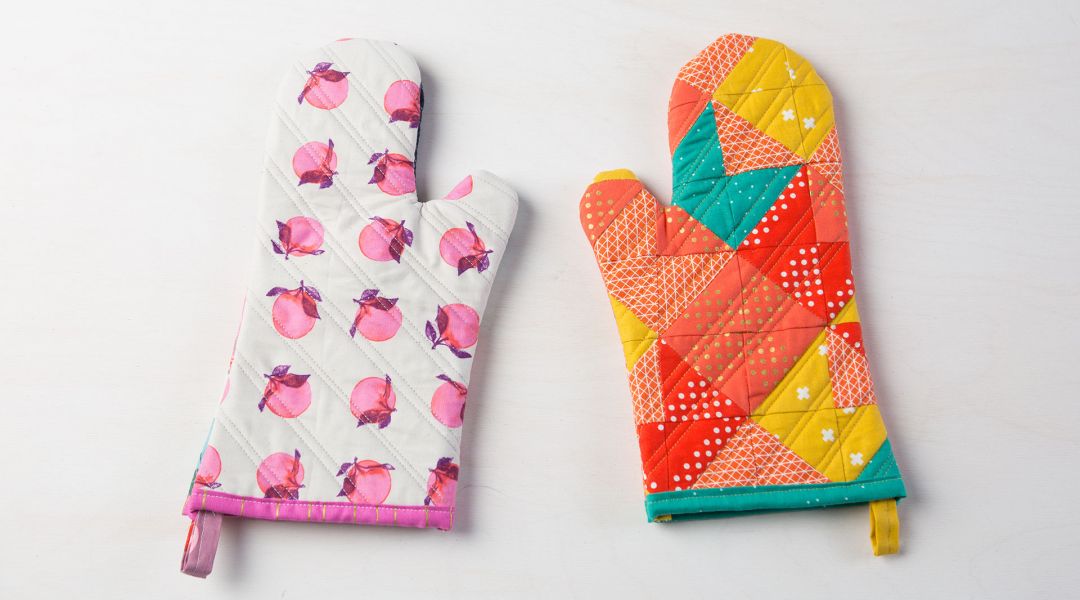
Wondering what to do with your leftover quilt blocks? Make an adorably unique oven mitt! Using Anna Maria Horner's Whippersnapper block, Ashley Nickels shows how to take any quilt block and turn it into a one-of-a-kind patchwork oven mitt. You’ll begin by creating two mini quilts, then cut out pattern pieces using the provided template. Add bias tape to finish the edges and create a hanging loop, then sew together for a cute and functional kitchen accessory.
Learn how to:
What You’ll Get:
Here’s what you’ll need:
- One finished quilt block - Ashley uses Anna Maria Horner's Whippersnapper block, or you can choose from any of our Blocks of the Month
- Two 9” x 13” rectangles of heat resistant batting (Ashley uses Insul-Bright)
- One piece 9” x 13” backing fabric
- Three rectangles of other fabric cut to 9” x 13” (1 solid, 2 prints)
- 34” bias tape for inside edge
- 15” bias tape for wrist
- Safety pins
- PDF oven mitt pattern
- Walking foot for quilting
- Scissors
- Rotary cutter and cutting mat
- Sewing machine with coordinating thread
- Pattern drafting interfacing for tracing pattern (optional)
Downloads:
- Make a quilt sandwich using heat resistant batting
- Apply bias tape to an edge
- Quilt using a walking foot
- Use pieced or solid fabrics to make an oven mitt
What You’ll Get:
- Step-by-step expert instruction on making an oven mitt using leftover quilt blocks
- 4 HD video lessons you can access online anytime, anywhere
- Detailed supplies list and downloadable PDF with pattern pieces ($16 value)
- The ability to leave comments, ask questions, and interact with other students


Member Gallery
Browse members' projects from this class and share your own work! Learn how to take great photos here.
Load More
Transcript
Class PDF
Quilt Block Oven Mitt Reviews
477 users recommended this class to a friend
Carmen Tibbets
Fabulous way to use up orphan blocks! I'm thinking everyone is getting oven mitts as presents this year.
January 14, 2026


