
All levels
|
39 min 11 sec
|
00:31
|
|
02:29
|
|
04:50
|
|
02:21
|
|
03:55
|
|
05:25
|
|
06:48
|
|
12:52
|

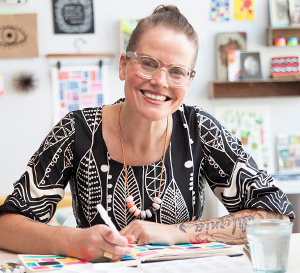
Taught by Rebecca Ringquist
Start Free Trial or
Buy For $19.95
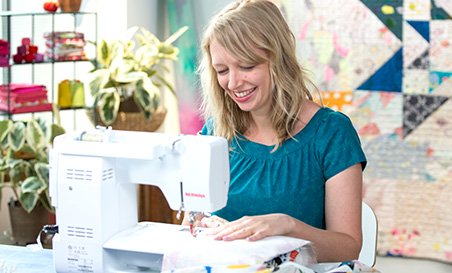
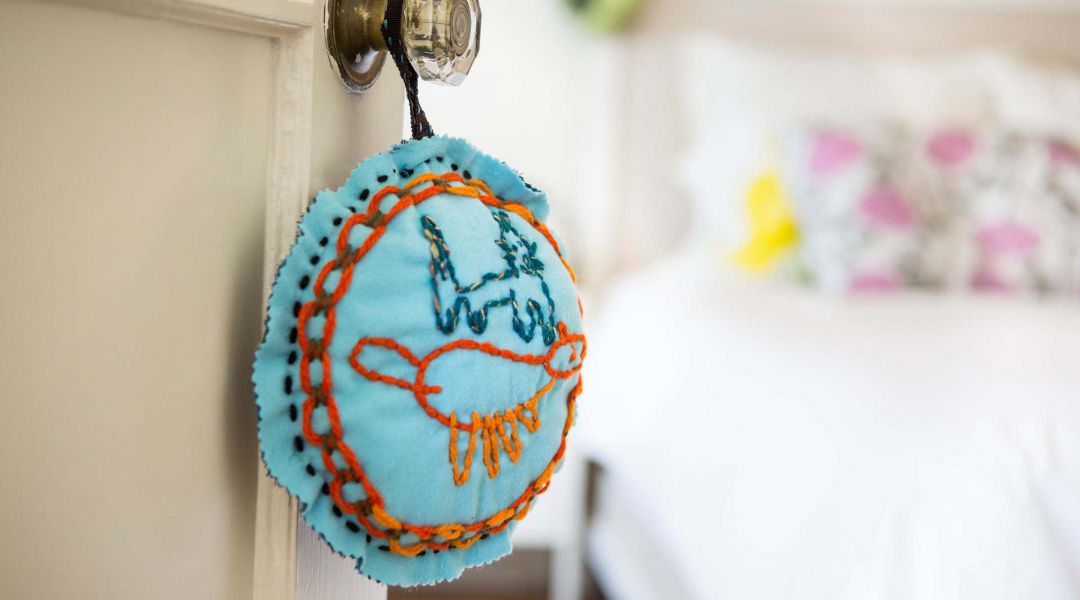
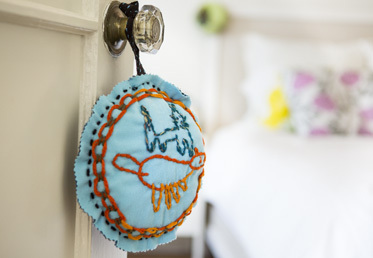
Kids can transform their drawings from paper to fabric in this clever workshop. Rebecca Ringquist shows you how to draw directly onto fabric, or transfer an existing drawing with special markers, and then use kid-friendly stitches to translate a drawing into a piece of portable décor. Also included are variations on stitches and tips to make this satisfying for little hands.
Learn how to:
Here’s what you’ll need:
- 8" and 12" embroidery hoops
- Tapestry needles
- Sharp scissors
- Pinking shears (optional)
- Beeswax for threading needles
- Rubber paper sorter or thimble
- Pincushion
- Ribbon
- Polyester fiber stuffing
- Safety pins
- Needle threader
- Washable fabric marker or fabric crayons
- Various yarns
- 15" square piece of solid flannel fabric and patterned flannel fabric
- Kids drawings
- Tracing paper
- Hot iron and ironing board
Downloads:
- Transfer a drawing to fabric
- Work with hooped fabric
- Backstitch and pinwheel stitch
- Sew running stich and filled running stitch
- A detailed video lesson on making a kids embroidered pillow
- 7 HD video lessons you can access online anytime, anywhere
- Detailed supply list
- Step-by-step expert instruction from Rebecca Ringquist
- The ability to leave comments, ask questions and interact with other students
Member Gallery
Browse members' projects from this class and share your own work! Learn how to take great photos here.
Load More
Transcript
Class PDF
Kid's Embroidered Pillow Reviews
119 users recommended this class to a friend

Judith Witkowski
Rebecca was very easy to follow!
More than 3 months ago
elizabeth portuondo
love this project
More than 3 months ago
Laura Libbey
Great class! Easy to follow , clear instructions, cute project for kids.
More than 3 months ago
Related Classes