Intermediate
|
1 hour 48 min
|
00:32
|
|
04:42
|
|
12:46
|
|
04:26
|
|
10:33
|
|
11:34
|
|
10:09
|
|
16:35
|
|
08:27
|
|
08:28
|
|
20:07
|
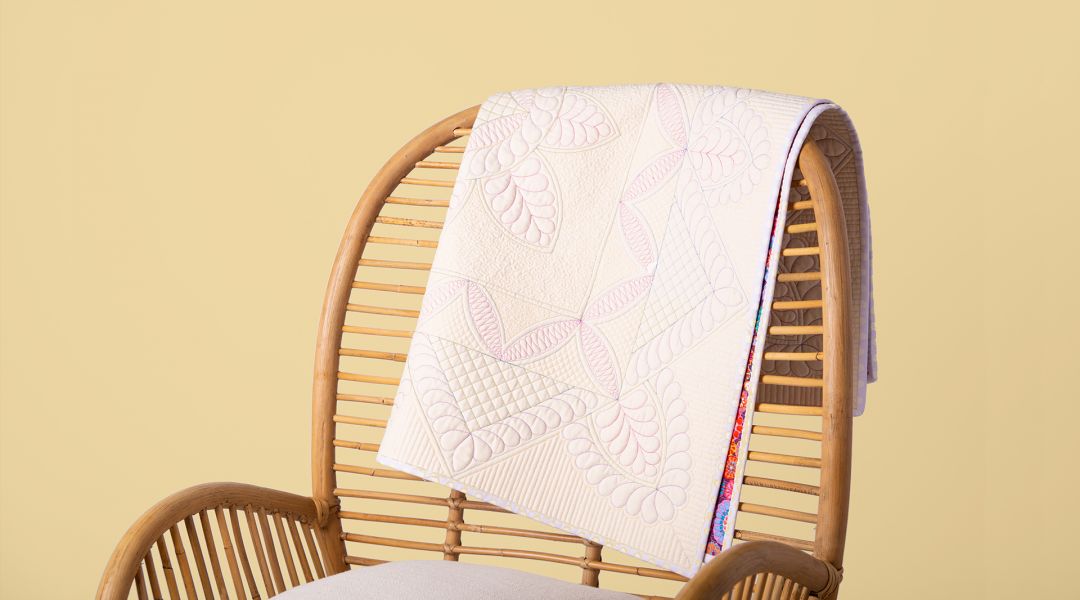
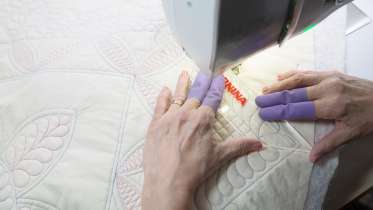
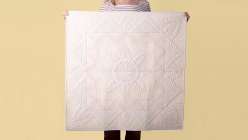
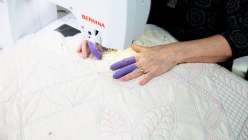
The beauty of a meticulously-crafted wholecloth quilt is impossible to understate and can seem intimidating to the uninitiated. Quilter and author Sue Nickels demystifies the process by breaking it down into manageable steps. First plan out your design by dividing your quilt into segments, and carefully mark from the center out. Then, trace ruler shapes for precisely rendered designs. Finally, explore feathers and fillers as a finishing touch, resulting in a miniature heirloom piece.
Learn how to:
What you'll get:
Here’s what you’ll need:
- Sewing Machine and ruler foot (Sue uses a #72 adjustable ruler foot on her Bernina machine)
- Straight Stitch Throat Plate
- Handi Grip Strips
- Sewing Gauge
- Snips
- Quilters Gloves or rubber glove fingertips
- Marking pencils (Sue uses Quilters Choice from Roxanne’s)
- Pencil Sharpener
- Rulers for measuring and marking
- Sewing machine needles (Sue uses Schmetz Microtex Sharp- size 70/10)
- Thread- Aurifil 50/2 Blue, Purple, Pink and Yellow
- Hand sewing needle with contrasting thread for basting
- Design supplies (graph paper, pencils, markers, stitching line discs, circle template)
- Masking tape
- Safety pins- Size 1 (130 needed) or 505 Spray Adhesive
- Quick Klip
- Rulers
- Straight Line Ruler, *Large Nesting Circles, Mini leaf and Pointed Leaf/Oval (the Straight Line Ruler is available in the Bernina ruler set for domestic machines. Other rulers available from Quilters Rule: www.quiltersrule.com or 1-800-343-8671
- For most high shank machines:
- Mini Straight Line Ruler ¼”- QR-MSLT
- *Inside Large Circle ¼”- MQT-NLC08
- Mini Leaf ¼”- MQT-MN03
- Pointed Leaf/Oval ¼”- MQT-L01
- For most low shank machines:
- Mini Straight Line Ruler 3/16”- HMQT-MSLT
- *Inside Large Circle 3/16” NA- Use Pointed Leaf/Oval
- Mini Leaf 3/16”- HMQT-MN03
- Pointed Leaf/Oval ¼”- HMQT-L01
- Please note: Since the filming of this class, Sue has designed two new rulers with Quilter’s Rule that could be used for this project in place of the original rulers:
- For most high shank machines (¼” ruler):
- MQT-SN-CW (Circle Wedge Set)
- MQT-SN-SL (Straight Line Tool)
- For most low shank machines (3/16” ruler):
- HMQT-SN-CW (Circle Wedge Set)
- HMQT-SN-SL (Straight Line Tool)
- For project:
- Cream fabric for top- 37 x 37”
- Print fabric for backing- 41 x 41”
- Batting - 41 x 41”
- Binding fabric - 1/2 yard
Downloads:
- Make ruler work on your home sewing machine
- Design and plan a quilt
- Baste and mark a quilt
- Work with rulers in conjunction with free motion quilting
- Work with multiple rulers in a single quilt
- Work feather and fan filler stitches
What you'll get:
- Easy-to-follow video lessons on how to use rulers and free-hand stitching to make wholecloth quilts
- 11 HD video lessons you can access online anytime, anywhere
- Detailed supply list and PDF with reference photos
- Step-by-step instructions by expert quilter and quilt book author Sue Nickels
- The ability to leave comments, ask questions and interact with other students


Member Gallery
Browse members' projects from this class and share your own work! Learn how to take great photos here.
Load More
Transcript
Class PDF
Advanced Ruler Work for Quilting Reviews
38 users recommended this class to a friend
Tana Linge
She sews so evenly and calmly. I will try my hardest to do the same same.
More than 3 months ago
Virginia VanGelderen
This was a very thorough and well explained tutorial. I appreciate that the instructor went through each step visually coaching all along the way. I believe I can tackle this quilt now . It will give the ability and confidence to finish off my larger quilts using these techniques
More than 3 months ago


